Why 4K Video Editing Matters in 2025
With platforms like YouTube and Instagram Reels prioritizing high-quality visuals, editing your videos in 4K can dramatically improve your engagement, watch time, and even revenue if you’re monetizing your content. A low-quality video can push viewers away—so let’s fix that.
What You Need Before You Start
- CapCut (CPKT) app installed
- A good VPN app (like SuperVPN) if certain features are region-locked
Step 1: Apply Smart Sharpen Lens Effect
- Open CapCut and tap on New Project.
- Select and import the video you want to enhance.
- Go to Effects > Video Effects > Lens.
- Select Smart Sharpen and tap Done.
- Apply it to the full video timeline.
- Delete the default CapCut ending clip if you don’t need it.
After applying this effect, your video may appear too dark or harsh initially. That’s normal—just follow the next step to adjust it properly.
Step 2: Adjust Settings for Crisp 4K Look
To fix the darkness and fine-tune the details:
- Tap on the applied effect and go to Adjust.
- Set Filter and Blur to 0 for a clean base.
- Increase Sharpen carefully to enhance detail (40 is a good mid-range value).
- Adjust Range to remove oily blur and get a DSLR-like sharpness.
Step 3: Lighting & Detail Enhancement
Tap on your video and scroll to Adjust. Use the following settings to balance light and enhance quality:
- Brightness: Slightly increase to improve visibility.
- Brilliance: Helps in smoothing out light transitions.
- Contrast: Boosts depth and separation in the image.
- Sharpen & Clarity: Essential for 4K detail enhancement.
- Shadow: Slightly decrease to avoid dullness.
- Saturation: Boosts color vibrance—apply moderately.
Step 4: Apply Temperature & Tone
Want your video to match a cinematic tone?
- Use Temperature to shift between cool (blue) and warm (yellow) tones. Blue is recommended for modern, sharp looks.
- You can also use Hue to fine-tune color grading.
Step 5: Export in Full 4K Resolution
After editing:
- Tap the export button in the top right corner.
- Select 4K resolution and maximum frame rate available.
- Save your new high-quality video to your device.
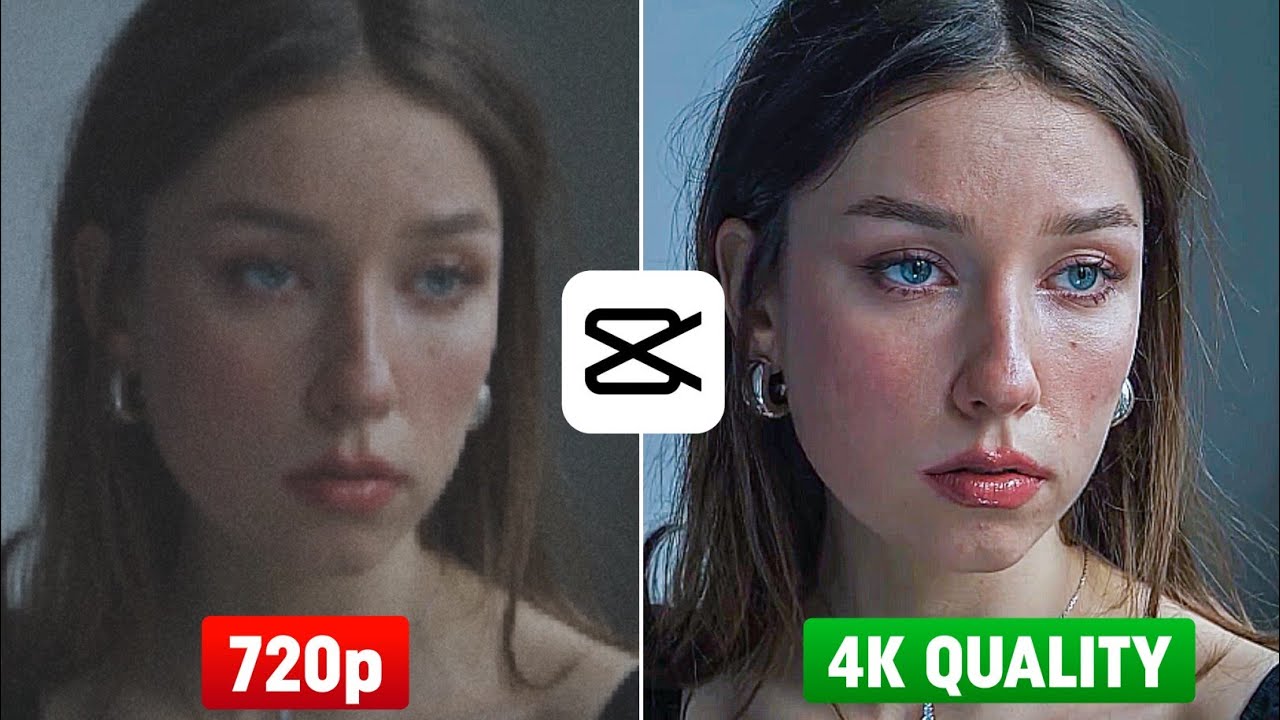
Before vs. After: Massive Difference
By just using these 2 simple steps—Smart Sharpen effect + manual adjustments—you can drastically upgrade your video from normal quality to 4K Ultra HD. It’s perfect for creators looking to boost their content game without expensive equipment.
Why CapCut is the Best Free 4K Editor
CapCut is not only free but also powerful enough to handle detailed editing, making it ideal for creators, influencers, and even small business promos. It supports HD and 4K export options, effects, filters, and advanced editing without the learning curve of Adobe Premiere Pro or Final Cut Pro.
Conclusion
With these easy steps, you can effortlessly convert any low-quality video into a 4K Ultra HD masterpiece right from your phone. Whether you’re editing vlogs, Instagram reels, or YouTube tutorials—quality always wins. So go ahead, experiment, and elevate your content today.
If you want to take things even further, check out tools like Topaz Video AI for AI-powered video upscaling or Adobe Premiere Pro for pro-level edits.