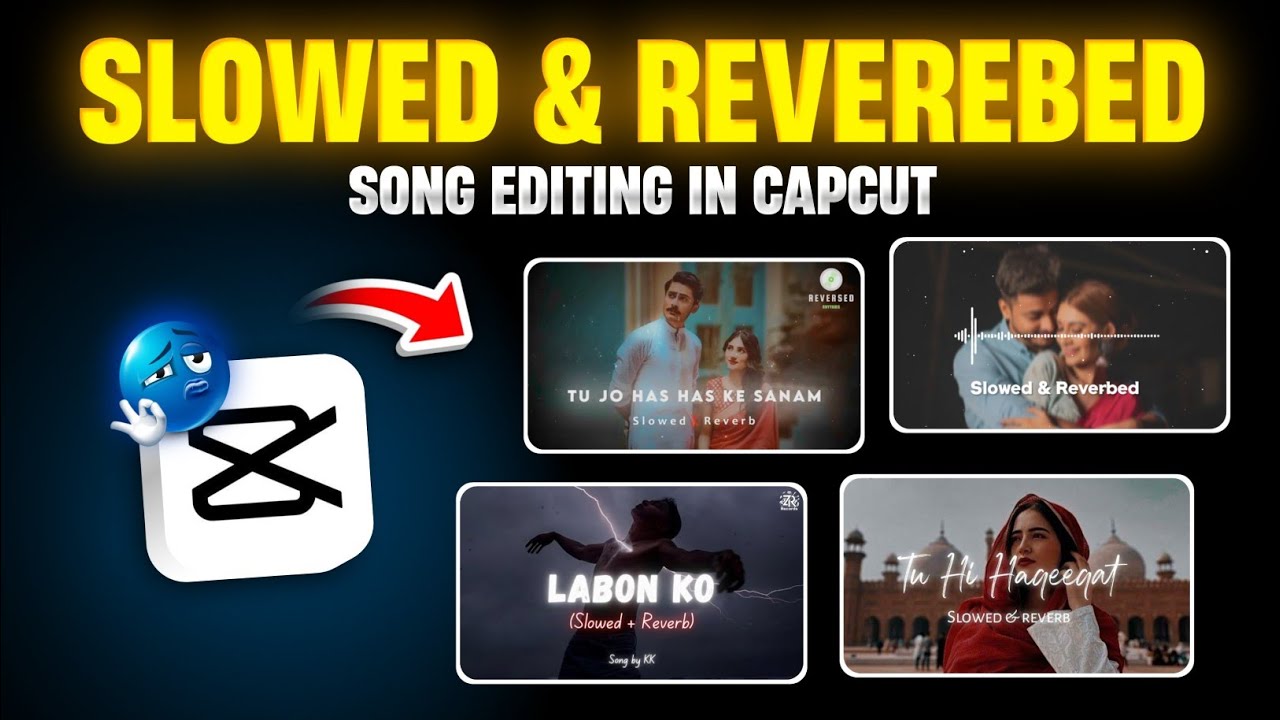
Hello everyone! Today I’m sharing a secret method that lets you transform any song into a slow, dreamy, reverb-rich version using the CapCut app. This method is incredibly simple—and I promise it works 100% of the time. So make sure to read through or watch all the way to the end!
What You’ll Need
- CapCut (CPKT) app installed on your Android device (from Google Play or “Get Apps” store).
- A functioning VPN app to access CapCut features if they’re region-restricted.
If CapCut isn’t available in your region, check out our Telegram channel for direct app links. Install CapCut and your VPN, then follow along!
Step-by-Step Tutorial
1. Connect VPN & Open CapCut
First, open your VPN and connect to any available server. Once connected, launch CapCut. A clean interface will load, and you’ll see the option to start a New Project.
2. Add a Photo & Set Duration
Tap “New Project,” then select any image from your gallery—this acts as a static background while your song plays. Tap “Add” to insert it. Next, change the aspect ratio to 16:9 and scale the image to fit the screen. Adjust the project duration to match the length of your audio.
3. Import Your Song
Tap the Audio menu, then tap Sounds > Device. Locate your song (e.g., “Barsaat”) and tap the “+” button to add it to your timeline. You’ll notice instrument or tone intro parts—split the audio and delete the unwanted intro, keeping just the main song.
4. Slow Down the Track (0.8× Speed)
Select your audio track, then choose the Speed option. Reduce playback speed to around 0.8× (or 0.7×–0.8×) to create that slow effect. Tap “Done” to apply.
5. Add Reverb Effect
With the audio selected, tap Audio Effects. Choose the reverb option (“MAC Hawk” in CapCut). Increase the Room Size to around 30–40, then confirm. This adds spacious, natural echo—perfect for atmospheric sound.
6. Preview Before & After
You’ve now edited your track with slow speed and reverb! Play back to hear the difference. To revert temporarily, disable the effects and reset speed to normal for comparison.
Optional Visual Enhancements
- Remove watermark: Tap on the watermark element and delete it.
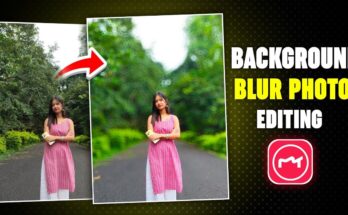
- Blur the background: Add a lens blur effect via Effects → Lens → Blur, then apply across the image.
- Add text overlays: Use “Add Text” to overlay the song title and style labels like “Slow & Reverb.” Choose a professional font, position it at top or bottom, and duplicate text layers to match duration.
- Particle overlays: Go to Overlays → Add Overlay → Particle effects. Use downloadable particle packs (link in description) and fill the screen. Apply “Lighten” blend mode and duplicate to extend the effect.
- Audio spectrum overlay: Use Overlays → “Add Visual” → Spectrum effect to display an audio waveform overlay synced with your music.
Export Your Final Video
Once everything is in place, tap on the “Export” button. Set the resolution and bitrate as preferred—max settings recommended for quality. Finally, save your video to your device. Your slow‑+ reverb music video is now ready to share on Instagram, YouTube Shorts, or TikTok!
Why This Method Stands Out
Many apps or online tools claim to slow songs or add reverb, but rarely deliver results as clean and cinematic as this. CapCut gives you precise control over speed and effects—plus visual creativity with text, overlays, and blur. It’s a foolproof combo!
Recommended Keywords & SEO Tags
- slow song effect
- CapCut slow music tutorial
- reverb music effect CapCut
- how to slow down a song
- CapCut audio editing tips
- music editing CapCut reverb
Final Thoughts
This secret trick using CapCut lets you transform any track into a slow, atmospheric, reverb-rich sound—ideal for cinematic videos or relaxing music edits. A clear hack that works every time.