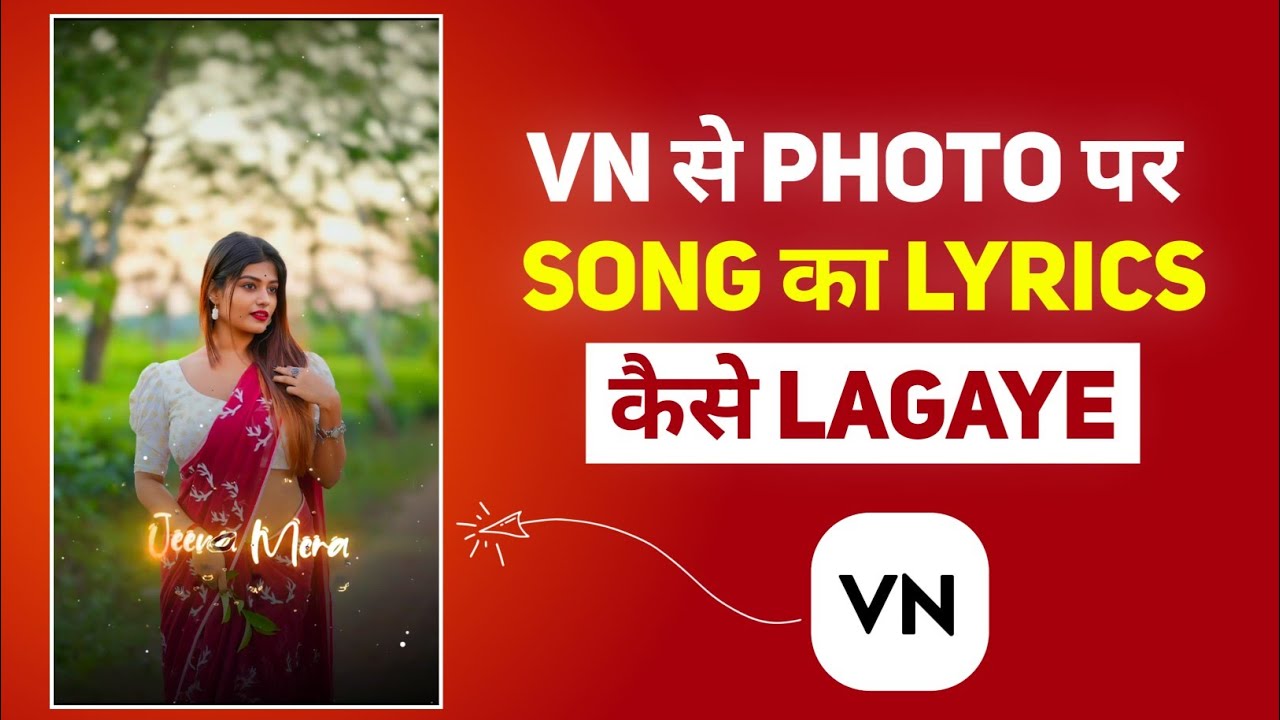
Hey everyone! Welcome back to another easy and creative VN App tutorial. In today’s blog post, I’ll walk you through how to add lyrics of any song to a photo using the VN Video Editor App. This style of editing is ideal for making engaging Instagram Reels, WhatsApp statuses, or YouTube Shorts. Let’s get started!
Step 1: Install the VN Video Editor App
- If you haven’t already, download the VN App from Google Play Store.
- Open the app and tap on the “+” button to start a New Project.
- Switch to the “Photos” tab and select the image you want to add lyrics to.
- Click “Next” and your photo will be imported to the timeline.
Step 2: Choose the Correct Ratio
- Tap on the “Original” option on the photo timeline.
- Select the right ratio based on the platform you’re using:
- 9:16 for Reels, Shorts, WhatsApp Status
- 1:1 for Instagram Posts
- 16:9 for YouTube Videos
Step 3: Increase the Photo Duration
- Long press the arrow icon at the end of the photo timeline and drag it to increase duration to 15–20 seconds.
Step 4: Add Lyrics Video Using PIP (Picture in Picture)
- Tap on the PIP option (3rd icon).
- Switch to the “Videos” section and select a lyric video with a black background.
- If you don’t have one, visit the YouTube or Instagram and search for:
- “song name + black screen lyrics status”
- “Glowing lyrics video” on Instagram
Or download from curated lyric packs like from Lyrics.com or use this YouTube to MP4 tool to grab the lyric video.
Step 5: Blend Lyrics Over the Photo
- Once the lyric video is added, click on it in the timeline.
- Scroll through the toolbar and tap Blending.
- Select the Screen blend mode to remove the black background and keep only the glowing text.
Step 6: Resize and Adjust the Lyrics
- Resize the lyrics layer and move it to a suitable place on the photo (avoid overlapping faces).
- If the text is not highlighted enough, increase its exposure and saturation via the Adjust tool.
- You can also change text color using the Hue option under HSL.
Step 7: Add a Black PNG Layer for Highlight
- To further highlight the text, overlay a semi-transparent black PNG behind it.
- Use the PIP feature again, go to “Photos” and select the PNG from your device. You can create PNGs using tools like PixelLab.
- Adjust the black PNG beneath the lyrics layer to boost contrast.
Step 8: Final Color Grading
- Select your base photo and apply filters or manual adjustments.
- Use Saturation, Sharpen, and Brightness for visual enhancement.
Step 9: Export the Final Video
- Once everything looks perfect, tap on the Export button at the top right corner.
- Choose settings like:
- Resolution: 1080p
- Frame Rate: 60fps
- Bitrate: 50mbps
- Export and save your lyric video to your gallery.
Pro Tips for Better Engagement
- Use trending songs to increase chances of going viral.
- Make sure text is readable and positioned properly.
- Keep the video under 30 seconds for best engagement on platforms like Instagram Reels and TikTok.
Conclusion
And that’s it! You now know how to add beautiful, glowing lyrics to any photo using the VN Video Editor app. Whether you’re creating a mood post, a romantic status, or a music-themed reel, this simple trick can make your content stand out. Try experimenting with different fonts, PNG overlays, and color tones to create your unique style.
For more VN tutorials, free lyric templates, and social media content ideas, follow our blog and stay tuned for the next guide. Happy editing!
Download Lyrics ( Link )
Download PNG ( Link )